(Under Construction)
Probably the most difficult and time consuming part of setting up the X31 is getting the sliding table right. But if the rails on which the sliding tables are set correctly first, life gets a whole lot easier. The RAIL JIGS Robland uses make setting the rails if not a breeze at least easier. When I saw the jigs for the first time at the Robland factory I went mildly nuts! It was like finding the Holy Grail. "How do I get a pair of these jigs!?" I begged, credit card in hand and reaching for my wallet. "We're making some more up after our vacation, I'll send a pair to Laguna Tools for you.." He mentioned a very reasonable price and I smiled very appreciatively.
After loosening all the bolts holding the rails onto the unit you slide the jigs onto the rails and then slip the dovetailed bar on the bottom of the jigs into the dovetailed miter/mitre slot on the saw table.
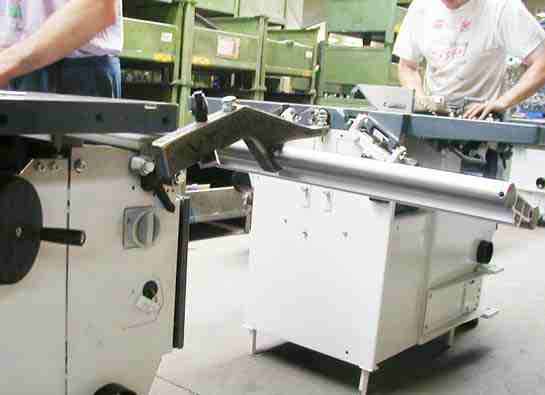

With the rails held in the proper position by the jigs you merely have to tighten up the rail support bolts etc. To remove the jigs you must loosen the lock nuts on the two set bolts (one on the end of the jig setting on the lower rail and the other at the edge of the saw table). It's wise to mark their initial positions BEFORE turning/loosening ANYTHING. That way you can put them back to the Factory Setting so they're ready for next time.
NOTE: There's a link to a photo of a Rail Jig on 1/4 inch graph paper at the bottom of this page
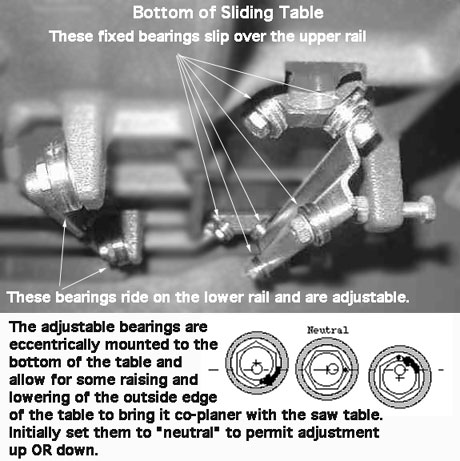
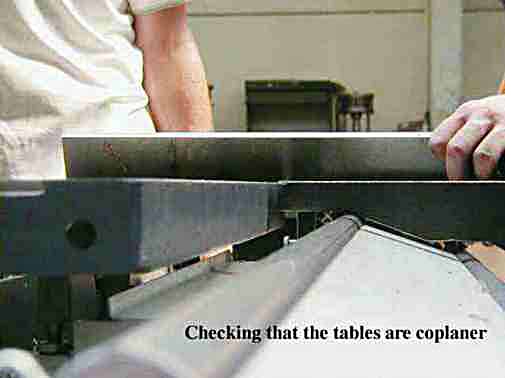
Now it's time to install the sliding table and do some final adjustment. The next image shows the bearings on the underside of the sliding table. There are two sets of three bearings which wrap around the upper rail and two larger adjustable bearings which ride on the lower rail. These lower bearings are mounted to the table eccentrically - thus allowing for minor raising and lowering of the outside edge of the sliding table in order to fine tuning it to be co-planer to the saw table.
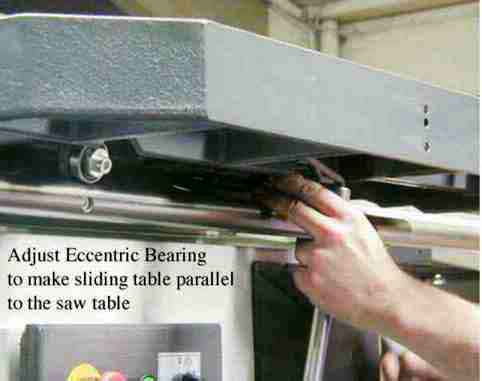
After adjusting the eccentric bearings confirm that the sliding table is co-planer with the saw table AT BOTH THE FRONT AND BACK END OF THE SLIDING TABLE.
Next, check that the sliding table tracks parallel to the saw blade (which waa previously set to be parallel to the miter/mitre slot in the saw table).
![]()
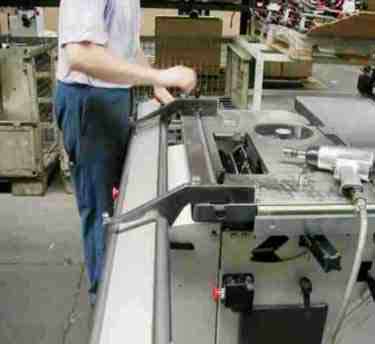
Now here's Robland's SLICK TRICK for making very fine adjustments to the sliding table's tracking. Lock the saw tilt lever and loosen just the upper front allen head bolt which holds the metal housing on which the rails are mounted. Now, when you turn the saw tilt handle it will cause one end of the sliding table to move to or away from the saw table! When the sliding table is tracking parallel to the saw blade you just tighten the allen head bolt and you're done. Pretty slick huh? The Robland guys got a kick out of watching the light bulb go off in my head as they showed me this trick. My ear to ear grin probably told them I'd caught on before my mouth was working.
![]()
Well ,that wraps up the key things I learned from Yves, Chris and Yanick. Now you know. Congratulatoins, if you understood all of this you've just been saved hours and hours of frustrating trial and error and trial and error some more.
Now if you'd like to see a large image of a rail jig - with a 1/4" grid for scaling click here