To start playing with a micro controller you need the following
A micro controller. The Arduino Duemilenove is about $30 USD and is great for learning on

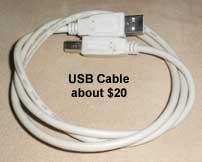
A USB cable to connect your computer to the micro controller. If you've got a computer and a printer you probably already have one you can use (when you don't need it to be connected to your computer). If not, you can pick one up for under $20
 and/or
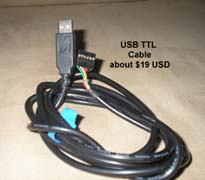
Several versions of the Arduino come with 6 pins for connecting a USB plug on the computer end and a 6 wire TTL connector on the other, Cuts down on the size and cost of an Arduino - but you need to get another cable. It's called a USB TTL or USB FTDI cable - available from most Arduino web sites for about $20USD. If you're going to prototype on an easy to play with Arduino - they come with a USB port so you only need a USB/USB cable. But if you want to put your finished Arduino project INSIDE something where it's out of sight, you'll also need a USB/TTL cable.
For about $50 you'll have an Arduino programmable micro controller that can be battery powered and one or two cables to connect it to your computer.
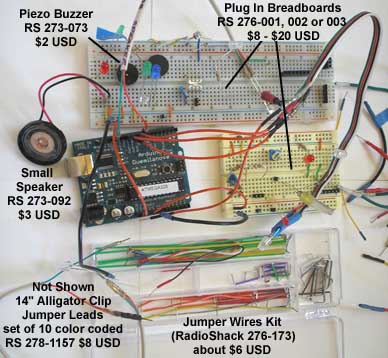
Now you need a way to connect stuff TO the Arduino and some STUFF to play with. Solderless Breadboard and a Jumper Wire Kit make it fairly simple to Plug & Play. Plug your STUFF into the breadboard and connect your STUFF from the breadboard to "pins" on the Arduino with the jumper wires. No soldering required - to prototype. Start with the littlest breadboard - you can use it later on ProtoShields later.
To start your STUFF collection - pick up a small speaker and a little piezo electric buzzer for playing with sound. That'll set you back about $5.
An assortment of LEDs should go on your list -so add another $10.
An assortment of 1/4 or 1/2 watt resistors 100, 220, 330, 1K and 10K ohms are Must Haves - add another $10
Get a 5 Pak of Cds Photoresistors (RS 276-1657 $3 USD)
Starter STUFF total - about $30 USD