When you think of designing on a computer, you normally think of drawing programs, probably a mechanical drawing program aka a CAD (Computer Aided Drafting) program or a "paint" program. But when you take pictures of the piece you designed and have turned, you'll likely use an image manipulation program to work on your photo - to adjust the lighting or color balance, then to crop the photo to make the focus of the image your piece.
But - WHAT IF - you start the design process with a digital photo of a piece you did - and wanted to play with variations of that piece - and SEE the variations in photo quality images - with the color and grain of the actual wood used?
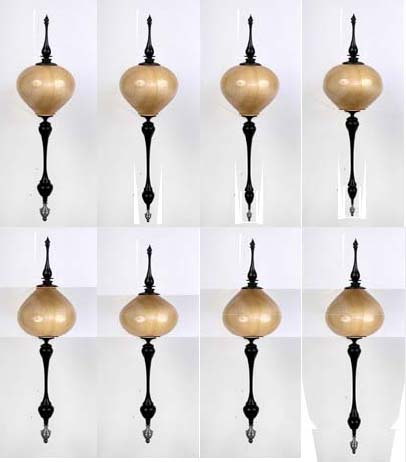
WHAT IF - you could do THIS? (The Original is in the upper left corner, the rest are variations done in a bit over half an hour.)

WHAT IF -YOU could do this? And - WHAT IF - you could do this with a graphics program that's under $100 - or FREE?
You're probably thinking "Oh great, another steep LEARNING CURVE to have to scale. This looks interesting - but I'm going to pass on this one.".
Before you give up - you might want to read on. What follows is a Basic Tutorial that should flatten that Learning Curve considerably and give you a running start at using a powerful design tool.
Interested?
The PhotoShop As A Design Tool Basic Tutorial uses PhotoShop 5.5 (last Update 1999) and Elements 6.0 (2008), but the tools and concepts are in other programs - like GIMP, a free, open source program, and Paint Shop Pro - and their icons and use should be similar.
Want to see how easily and quickly you can change the proportions of an image of your piece? If so, then CLICK HERE
Click here if you want to jump straight to the Basic Tutorial Table of Content