Boxes
Knight Mortising Chisel Box
(actually Jim Wilson makes them)
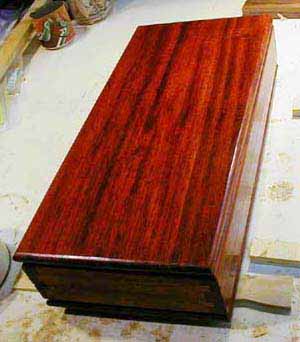
Some hand tools just deserve a nice home. Jim Wilson's mortising chisels for example. I'd bought a nice long board of Padouk which turned out to be too long to fit in my van. Had to cut off about 5 feet to get it home. That 5 foot piece was about perfect for this box.
Using the JoinTech precision fence and a dovetail template I made half blind dovetails on my router table. The JoinTech Cabinet Maker System (fence with easily replacable zero clearance inserts and a precision positionable fence mechanism along with paper templates for a boatload of dovetails and box/finger joints) makes doing dovetails EASY. The "hard part" was done with minimal sweating and cussing. Thank you JoinTech!
Decided to glue up the sides then cut them into top and bottom halves on the table saw. Set the blade height to just a sliver less than the thickness of the sides' stock and ripped all the way around the sides of the box. The "sliver" that wasn't cut kept the saw kerf open during the rip cuts. With a dry wall/sheet rock knife, I cut through the "slivers" to separate the top and bottom then block planed off the remaining wood "slivers".
(Note #1: The saw kerf width not only reduced the height of the outside of the box but the INSIDE of the box as well. More on that later.)Ripped the top and bottom of the box then cross cut them to length on the SCMS. Back to the router table to route the "step" on the inside faces of the top and bottom which will later fit into the sides of the box. Still on the router table, roundover the edges of the top and bottom parts.
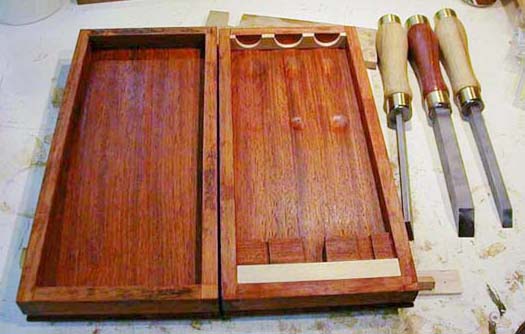
(Note #2: The 1/4" tall "steps" meant the height of the INSIDE of the box would be 1/2" less than the outside height. Can you see the problem being created yet?)Glued the top and the top half of the sides together and the bottom and the bottom half of the sides together. Only AFTER the glue had dried did I put the mortising chisels in the bottom of the box and TRIED to put the top on. It WOULD NOT CLOSE COMPLETELY.
How could that be? I'd ripped the sides a quarter inch wider than the largest diameter of the chisel handles to leave just a little room for them.
Hmmm, 1/4" for the "step" on the top PLUS 1/4" for the "step" on the bottom PLUS the saw kerf width.
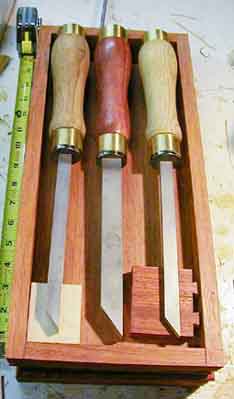
OOPS!And, in addition to that,, chisels don't lay flat, the tip goes down and that raises the end of the handle. OK, make a step to get the hold the end of each chisel up. Three chisel widths so that meant three step heights. BUT - the ends of the chisels, the part that's supposed to stay nice and sharp, could bang into each other. You NEVER want sharp edges banging into metal, let alone hardened metal. Three dadoes, each to the depth required by its chisel, and the banging into each other problem was solved.
Even with the working ends tied down, the other ends, the handles could still bang into each other. A forstner bit, some drilling and a rip cut solved that problem.
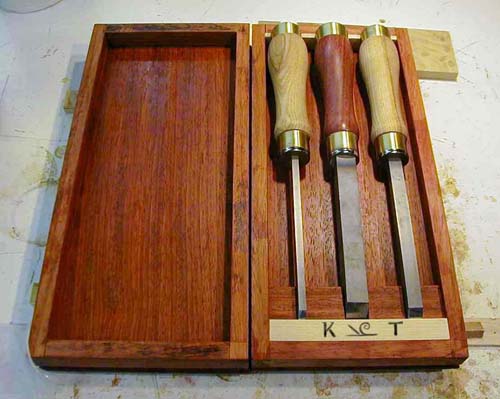
The original problem, the top not closing, still had to be dealt with. Got out some carving gouges, removed some wood under the "hight spot" of the chisel handles, checked if the top would close and gouged out some more wood. When the lid would close I got out some sand paper and cleaned up the gouged out depressions.
DONE! (except for the hinges. I hate doing hinges)